Key Takeaways
- Setting up a barcode inventory system consists of 4 easy steps: generating barcodes, labeling your inventory, utilizing scanners, and integrating software.
- You can start the process by preparing an inventory list to associate each product with a unique barcode.
- You can generate barcodes with a free online barcode generator or barcode font for internal purposes. However, for globally recognized barcodes, you’ll need to purchase GS1-registered barcodes.
- Once your barcodes are generated, you’ll need to print them using a barcode printer and attach them to your inventory.
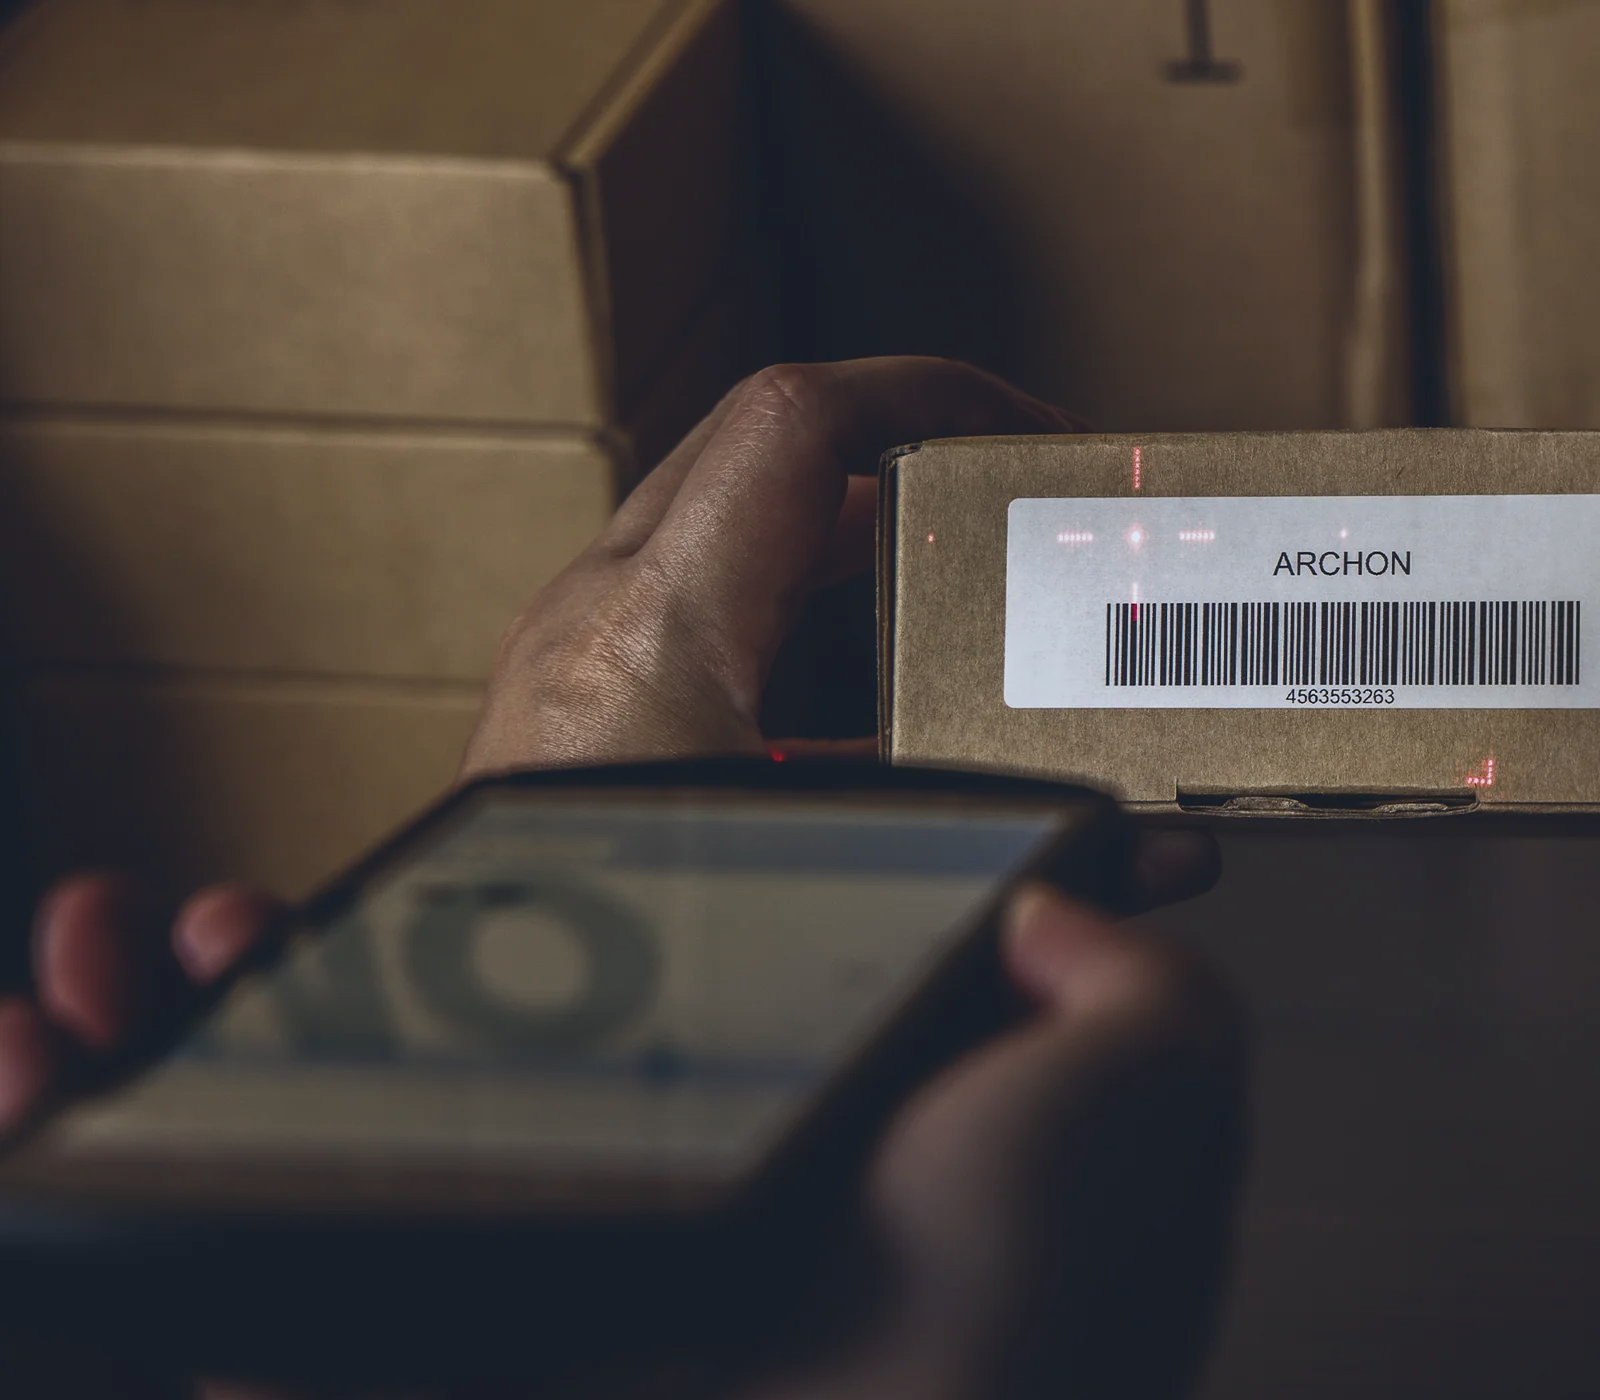
- Barcode scanners have various options that range from affordable USB scanners to more advanced wireless smart scanners, depending on your specific needs. Even smartphones can double as barcode scanners.
- Integrating inventory management software with barcode functionality is the best way to get the most out of your barcode inventory system.
Over the years, we’ve had countless small businesses ask about barcodes or, more specifically, how to set up a barcoding system. So, by popular demand, we’ve crafted this short tutorial to show you how to set up a barcode inventory system quickly and painlessly!
We tried to keep this article simple, but if you’re interested in a more in-depth look at how to start barcoding your small business, check out our Ultimate Barcoding Guide. It covers absolutely everything related to barcodes.
If you prefer video tutorials, you can find one below:
But since you’re here, this post provides some extra detail about the steps from our video for setting up a barcode inventory system.
Step 1: Generate barcodes for your barcoding inventory system
The first thing to do is prepare an inventory list spreadsheet so that you can tie barcodes to specific products.
If you haven’t prepared a spreadsheet, head over to our article about inventory lists. We walk you through what an inventory list is and how to create one. We’ve even included a free-to-download template to make your life easier. Our template is pretty barebones, but you can add any relevant information to your products, such as lot and serial numbers, for example.
Now, back to generating barcodes. You can use a free online barcode generator to generate barcodes one at a time. However, there is a better option. Barcode inventory software can automatically generate barcodes for each product. If you have custom-built software for utilizing barcodes, you can also do more with your barcode inventory system.
Generating your own barcodes, however, isn’t for everyone. If you need your barcodes to be recognized globally, you need GS1-registered barcodes. For those, you can visit our official inFlow GTIN Barcode Shop to purchase single barcodes for only $30 with no renewal fee. However, if you need more than ten barcodes, we recommend purchasing a company prefix directly from the GS1 website.
As a quick final example, here’s what an inventory list spreadsheet could look like:

Step 2: Label your inventory
Now that you’ve got a spreadsheet of your products and corresponding barcodes, you’re one step closer to a complete barcode inventory system.
Now it’s time to physically label your current inventory. For this, you’ll need a barcode label printer and software to create the labels. We recommend the inFlow Portable Printer. It’s compact, wireless, and built for use in warehouses or on the go. This printer allows you to easily print labels directly from your phone, tablet, or computer, without being tied to a single workstation.
We also created a built-in label designer into inFlow to make it easy for users to create custom labels. Understanding your company’s brand archetypes can significantly influence how you design your product labels, making them resonate more with your target audience. Our tip is to stay moderate when adding fields first. Stick to the basics like Item Name and Barcode, and see how that fits with a few test prints. Remember that you’ll still want to be able to read some of the information on the labels, so having fewer fields on each label means they’ll be easier to skim.
This step is probably the most labor-heavy because you’ll have to print one label for each item you want to barcode. Expect this to take at least a few hours if not days. The labeling process can go faster if you have barcode inventory software that can filter your current stock and automatically print labels for just those products (more on this later).
Once you finish labeling everything you currently have, pat yourself on the back for a job well done. You’ve almost completed your barcode inventory system setup. Just keep in mind it’s a good idea to keep the process going for any incoming products.

Step 3: Get a scanner for your barcode inventory system
Having barcodes on your products won’t do much good without a scanner to read them. Scanners come in all shapes and sizes, from small pen models to larger portable computing systems with built-in software. Today, you can even use the smartphone in your pocket to scan barcode labels.
What scanner you choose to use depends on your workflow. Your smartphone could do the trick if you don’t scan many barcodes regularly. What’s great about this option is that it’s zero investment on your part. However, the more scanning you do, the less efficient it becomes.
We recommend buying a dedicated barcode scanner for your barcoding system. They can speed things up and save you a lot of time in the long run. If you’re in the market for something that is both affordable and reliable, you could pick up a wired USB scanner. These are an excellent option for anyone doing stationary barcode scanning. If you’re on the move, we also have the Bluetooth version of that scanner.
Anyone in a warehouse that needs speed, mobility, and overall scanning efficiency, should invest in a wireless barcode scanner like our Smart Scanner 3. Smart scanners are great because you can download your barcoding software right onto the device, making the scanning process super seamless.


Share:
What Is the Best Barcode Scanner for Small Businesses?
Top 3 Free Barcode Generators to Simplify Your Inventory Management